
In this tutorial, I will be demonstrating an advanced but very realistic technique for adding a tattoo to human skin.
I will show you how to use masks, adjustment layers etc. To get the tattoo graphics I simply searched for “tattoo vector” on Google and I found that there are many places to download free tattoo vectors. You need a vector without a background, as you do not want to try removing it yourself. On this site, there are plenty of nice free vectors and you can use the .esp files for this tutorial. In addition, both for looking up some tattoo vectors and a face or body I recommend that you consider using a free stock image site. If you have some really, cool tattoos I recommend you share them online in a photo portfolio. You can use WordPress photography themes, like those collected here, and it is not as hard as many think, to set it up.
[exec]$filestr = file_get_contents(‘http://www.tripwiremagazine.com/googleadsensebelowmoretag.inc’);echo $filestr;[/exec]

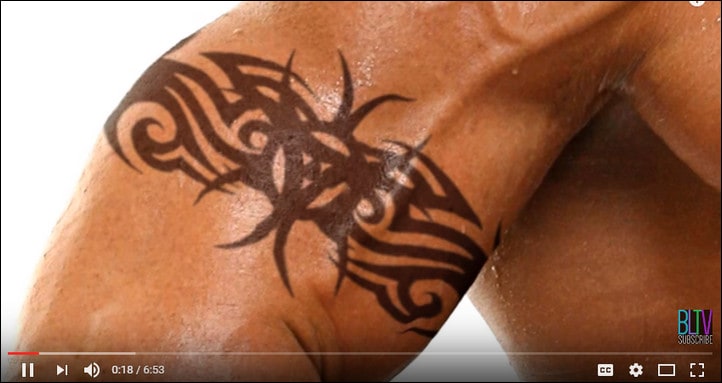
We found this how-to-make-a-tattoo video that will help master Photoshop tattoos.
Check out my favorite Photoshop Tattoo tools here.
We also added a short step by step tutorial below. Good luck!
Step 1: Setting up the basics
Start by opening up the image you are going to add tattoos on. Then duplicate the background layer by clicking on it and dragging it to the New Layer icon down the bottom (it’s the one to the left of the trash can). Name the new layer “base”. Then you should desaturate the colors from it using Ctrl+Shift+U or Image>Adjustments>Desaturate and duplicate it again. The purpose for doing this is that it is a good idea to have your base image backed up, just in case you mess up, and need to go back and fix errors.
The base image looks like this. The face looks a bit too clean and I’m going to show you how to give his baby skin a bit more rough look.
Step 2: Highlight details in the skin
To make the Tattoo effect really awesome you want to bring out the detail in the skin. You can do this be adding more contrast and by adjusting the tones.
Next you should add three adjustment layers: First, a Levels layer, then a Brightness/Contrast layer, and last a Curves layer. You add the adjustment layers here: Layer > New Adjustment Layer > Levels/Brightness/Curves. Adjustment layers allow you to change the properties of the image below without actually destroying or changing image data. This is really useful and can save you from starting over if something develops in the wrong direction. It is also really fast to see the effect of a adjustment layer as you can hide it just as you can for any other layer by clicking on the eye.
Click on the curves 1 layer and do the adjustments shown below – the values are image specific and will not be the same on your image, but make a similar curve. This is known as the s-curve and it is great for getting more contrast. However it may also be pretty hard to light areas. Well recover any lost detail in step 3.
Then you click on the Brightness/Contrast layer and set the following values. You may of cause choose other settings if they fit your image better.
Finally click on Levels 1 and adjust the levels as shown below.
The base copy with adjustment layers now look like this. Pay attention to the forehead and the cheek on his left side. To surface skin detail other places these areas are now too light.
Step 3: Repair too heavy curves impact
While adding the adjustment layers the light areas of the image may have been damaged and important details have been lost. The areas affected in my image is the forehead, the left cheek and the chest. In order to recover the lost details you will be using a layer mask.
Choose the curves 1 layer and then click on the add mask button at the bottom. Once it is created you can select it as shown on the image below. There is a dashed line around both mask layers.
Once it is selected you should use the Brush with 50% opacity and paint with black in areas that are too over exposed (got too much light when adding the curves s-curve). Compare the forehead and the right cheek below where the layer mask has been used on the forehead and not yet on the left cheek.
Step 4: Surfacing even more skin details
If you want the skin details to surface even further you can use the Burn Tool (O). You need to be careful using it and this is where your base copy may be thrown away a few times. If you hit the dark areas with the burn tool you will get in trouble. Use it to pull out the tiny details in the light areas and make wrinkles stand out much more. Use a small brush to make it easier not to hit dark areas. I used these settings below. See the difference between the large and small image:
The image is now ready for the tattoos to be added.
Step 5: Add the Tattoos and make it fit in
Now simply paste the tattoo pattern into a new layer – name it Tattoo. Below I have opened a esp-file and used copy/paste inside Photoshop. I then used free transform (CTRL+T) to adjust it in different ways. 1) rotate, 2) size – remember to hold SHIFT to maintain dimensions 3) Pulled individual corners by holding CTRL when in free transform mode.
Step 6: Make the Tattoo fade into the skin
Make two copies of the tattoo layer called “Tattoo copy” and “Tattoo copy 2”. Then hide the Tattoo layer and set the “Tattoo copy” Blend mode to Overlay with Opacity 50-80% (depends on how dark the image is – make it look natural and ply with it). Then set the “Tattoo copy 2” Blend mode to Soft light with Opacity to 55%. You can see the Skin details merge together with the tattoo and that is why it is important to get I surfaced as much as possible.
Step 7: Make the tattoo fit even better in
Select layer “Tattoo copy” and apply the Gaussian Blur filter with a radius at 2-2.5.
Just added a few more. Once you tried it a few times it doesn’t take a lot of time to do it. Of cause you need to play around with the opacity setting to make it look natural but it is actually quite fun!
Lars started tripwire magazine back in January 2009. He is really passionate about web design, web development and loves to look into new technologies, techniques, tools etc. and to write articles for his readers.


I found these instructions incredible helpful as I approached my next tattoo. Have you had the opportunity to play with the same concepts in the context of color tattoos? I’d love to hear your feedback in that scenario as well.
Thanks again!
Butt nugget says no
I love to learn Photoshop or Illustrator, I look different from one study should not suffer either. The look this website, so I thought that appeal involved with Photoshop. Accustomed to feeling very happy experience you want to do. Thank you.
I can really see myself using this on my friends Facebook photos! Brilliant!
Great concept and well executed tut. I instruct Photoshop and will pass this along as a skillbuilder exercise to my students 🙂 Thanks and keep rockin!
Thanks for your feedback, really appreciate it!